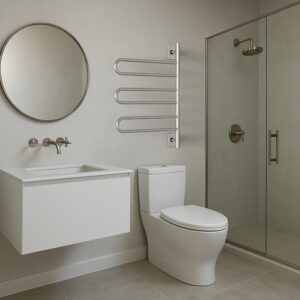
Upgrading your bathroom doesn’t have to mean tearing down walls or spending a fortune. If you’re looking for a simple project that adds real comfort, convenience, and a touch of luxury—installing a heated towel rack is one of the smartest, easiest upgrades you can do yourself.
Yes, even if you’re not a contractor. Especially if you’re comfortable changing out a light fixture or hanging shelves, many heated towel racks are absolutely within DIY reach.
Here’s what you need to know.
🔌 First Decision: Plug-In or Hardwired?
Before you break out the toolbox, you’ll want to decide how your towel rack will be powered.
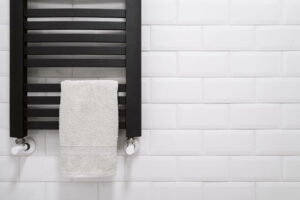
✅ Plug-In Heated Towel Racks
- Plug directly into a standard 120V outlet
- Great for renters, remodelers, and first-time DIYers
- Often include a built-in on/off switch
- Can be moved or replaced easily down the road
Best options:
These are as simple to install as hanging a coat rack—find your studs, level your brackets, and plug it in.
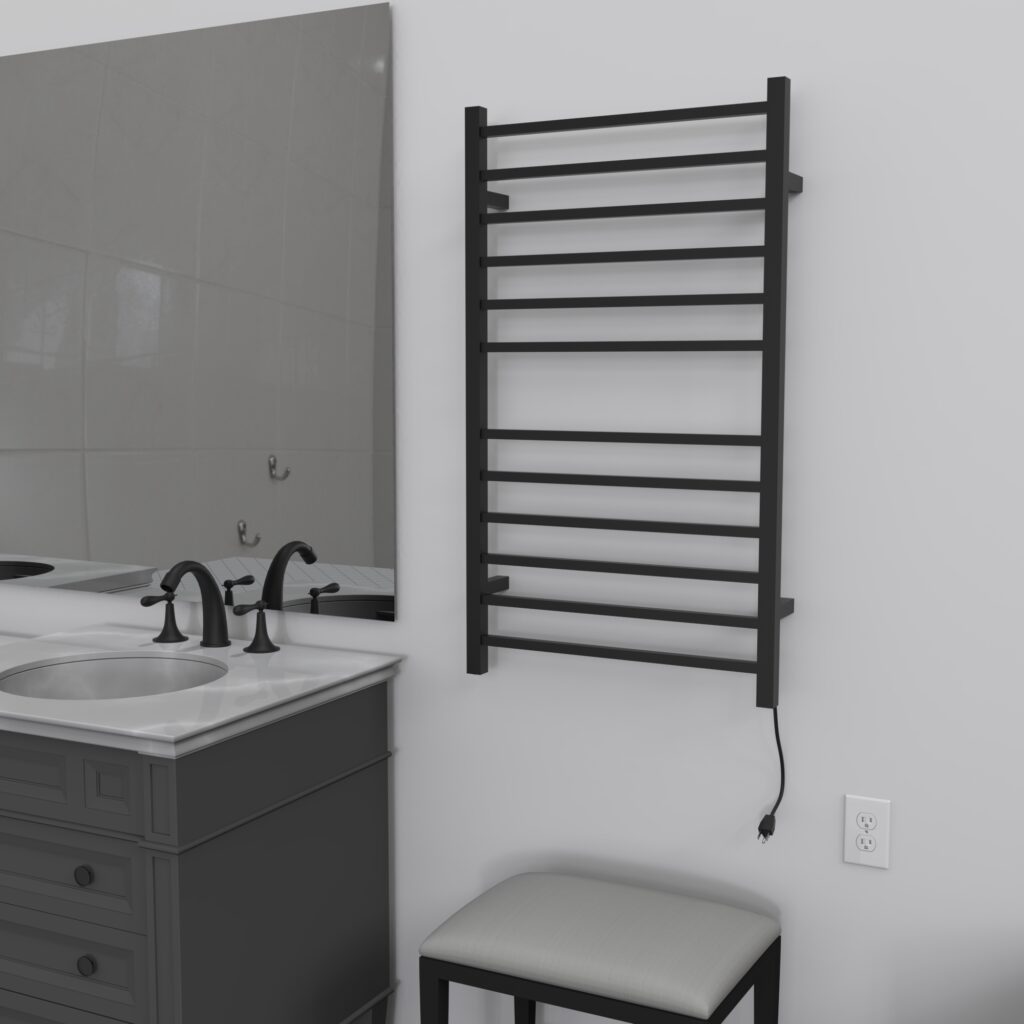
⚡ Hardwired Heated Towel Racks
- Wired directly into your wall and controlled by a wall switch or timer
- Clean, seamless look—no visible cords
- Permanent installation ideal for renovations or new builds
- Should be installed by a licensed electrician
If you’re already doing electrical work or remodeling your bathroom, a hardwired model might make the most sense. In many ways, installing a hardwired heated towel rack is no more complex than replacing a light fixture. A qualified electrician will remove the wall plate, connect the wires, and mount the unit according to local code.
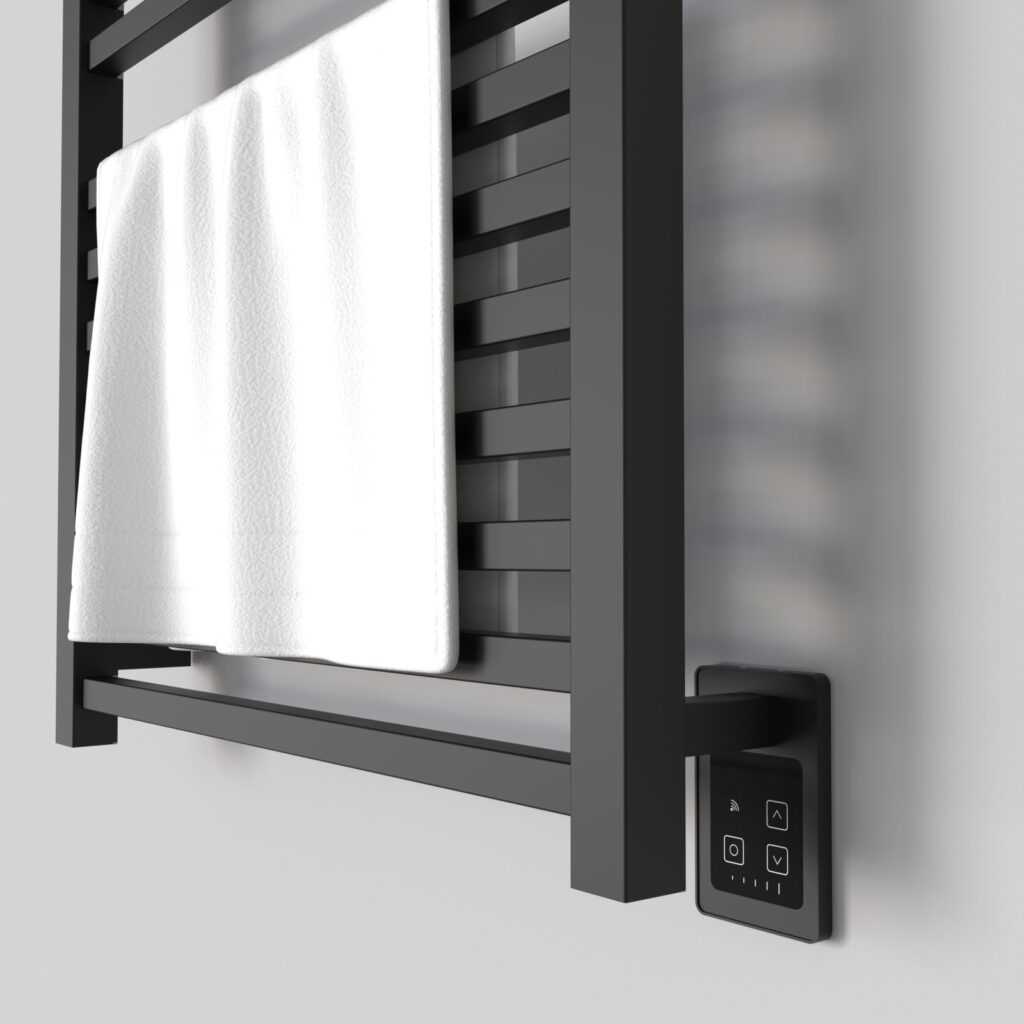
Good to know: Many racks we sell (like the Radiant and Cape collections) come with combo kits that allow either plug-in or hardwired installation—so you can choose what’s right for your space now and still have flexibility later.
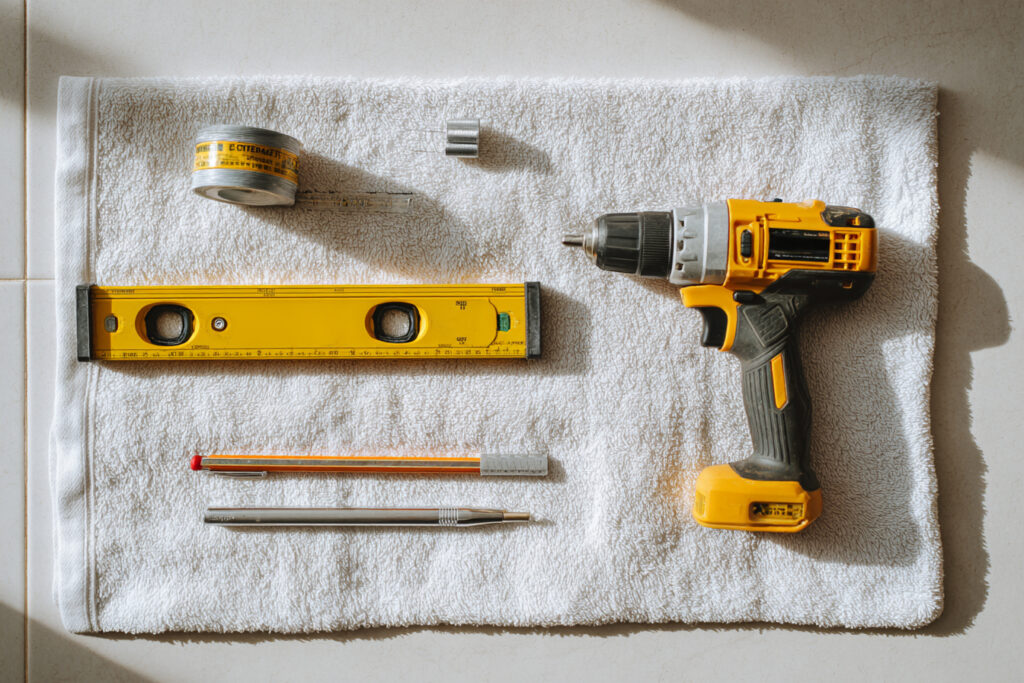
🛠️ What You’ll Need (For Plug-In Models)
If you’re tackling a plug-in install, here are the basics:
- Level
- Tape measure
- Pencil
- Drill
- Stud finder
- Mounting hardware (usually included with the unit)
- Screwdriver
Estimated time: 30–60 minutes for most models.
You’ll mount the brackets, align the rack, and plug it in. That’s it.
🧰 Optional Extras to Consider
Want to take your install up a notch? Here are a few pro-style upgrades:
- Add a timer: Save energy and automate your heating schedule. Many plug-in models pair easily with outlet timers.
- Cord cover kits: Hide the power cord for a cleaner look.
- Switched outlet: For easier control, have an electrician connect your outlet to a wall switch.
⚠️ When to Hire a Pro
While plug-in models are DIY-friendly, here’s when it’s smart to call in a professional:
- You’re choosing a hardwired model and don’t have electrical experience
- You need to run power to a new location
- You’re installing in a wet zone (like inside a shower or steam room) – which may require special kits and code compliance
In these cases, a licensed electrician ensures the job is up to code—and keeps your bathroom safe.
🧼 Clean Upgrade. Zero Regrets.
Adding a heated towel rack is one of those upgrades that feels instantly worth it. It’s clean, quiet, efficient, and genuinely improves your day-to-day comfort. And in many cases, you don’t need to renovate to make it happen.
Whether you go plug-in or hardwired, we carry a full range of heated towel racks that work beautifully—and install easily—in real homes.
Still unsure which install is right for you? Get in touch—our support team can walk you through options that fit your bathroom, your comfort level, and your timeline.